Smoke & CO Detector Updates as Heat Turns On
Test, upgrade, and replace detectors this fall to keep your household safe all heating season.
When autumn arrives in Chicago, cooler nights prompt homeowners to flip their furnaces back on. Along with that first blast of warm air comes a hidden risk: an uptick in house fires and carbon-monoxide (CO) incidents. Carbon monoxide is odorless, colorless, and deadly. The National Fire Protection Association (NFPA) reports that most home-heating fires and CO emergencies occur between November and February—precisely when furnaces and fireplaces work the hardest.
The good news is that a few minutes of maintenance and a modest investment in detectors can dramatically reduce these risks. Here’s a detailed guide to ensuring your smoke and carbon-monoxide alarms are ready for the heating season.
Why Fall Is the Perfect Time for Detector Maintenance
- Seasonal furnace use. Gas furnaces, fireplaces, and space heaters all produce carbon monoxide as a by-product of combustion. Even a minor crack in a heat exchanger or a blocked flue can allow CO to accumulate indoors.
- Closed-up homes. Once windows and doors stay shut, fresh air circulation drops. Any small leak of smoke or CO is more likely to build to dangerous levels.
- Holiday hazards. Candles, cooking, and decorative lights make late fall and winter the busiest time of year for home fires.
Completing a thorough detector check in early fall means you’ll have months of protection before temperatures plunge.
Understanding the Two Types of Detectors
Smoke Alarms
Smoke alarms sense particles in the air and can be either ionization (best for flaming fires) or photoelectric (better for smoldering fires). Many modern models include both technologies for comprehensive coverage.
Carbon Monoxide Alarms
CO alarms detect dangerous levels of carbon monoxide gas. Some display real-time readings, while others sound an alarm only when concentrations become dangerous.
Tip: Combination smoke/CO units simplify installation and reduce clutter, but verify that each function meets national testing standards (look for the UL mark).
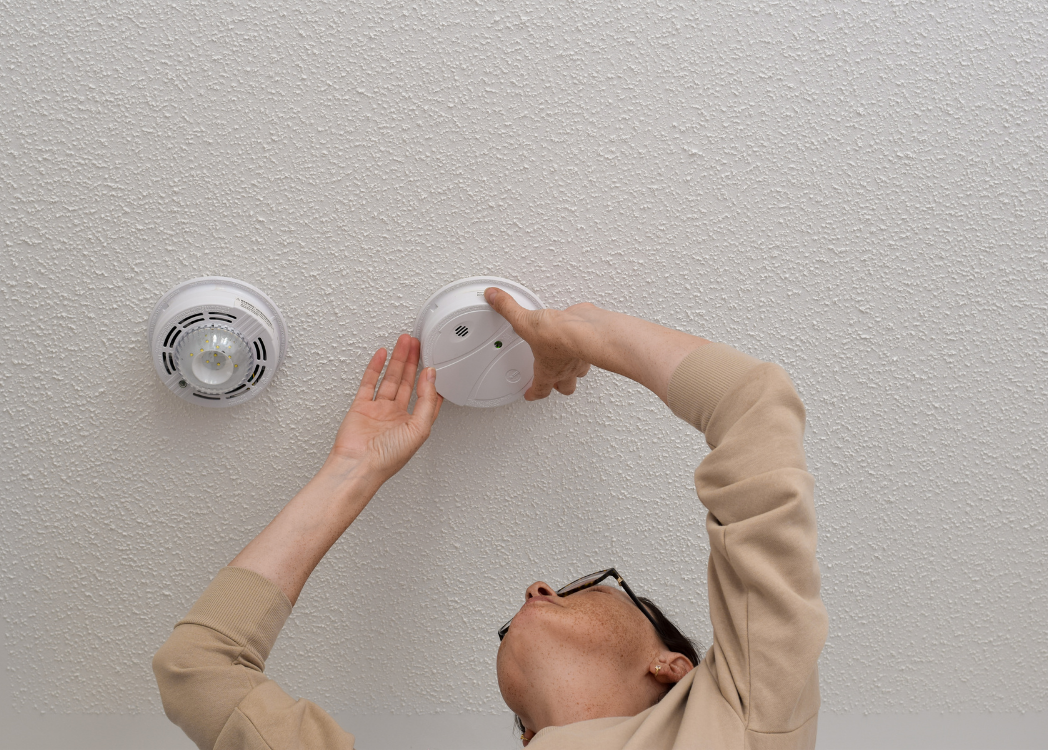
Step 1: Test and Replace Batteries
Testing is simple but often overlooked.
- Monthly Testing: Press and hold the test button until the alarm sounds. This verifies the sensor and the power supply.
- Battery Replacement: Even “long-life” batteries should be changed at least once a year. A practical rule of thumb is to replace them when you adjust clocks for daylight saving time in the fall and spring.
- Cleaning: Dust can interfere with sensors. Use a vacuum’s soft brush attachment around the detector’s vents.
If an alarm emits occasional chirps, it’s signaling low power or an expired unit—not something to ignore until later.
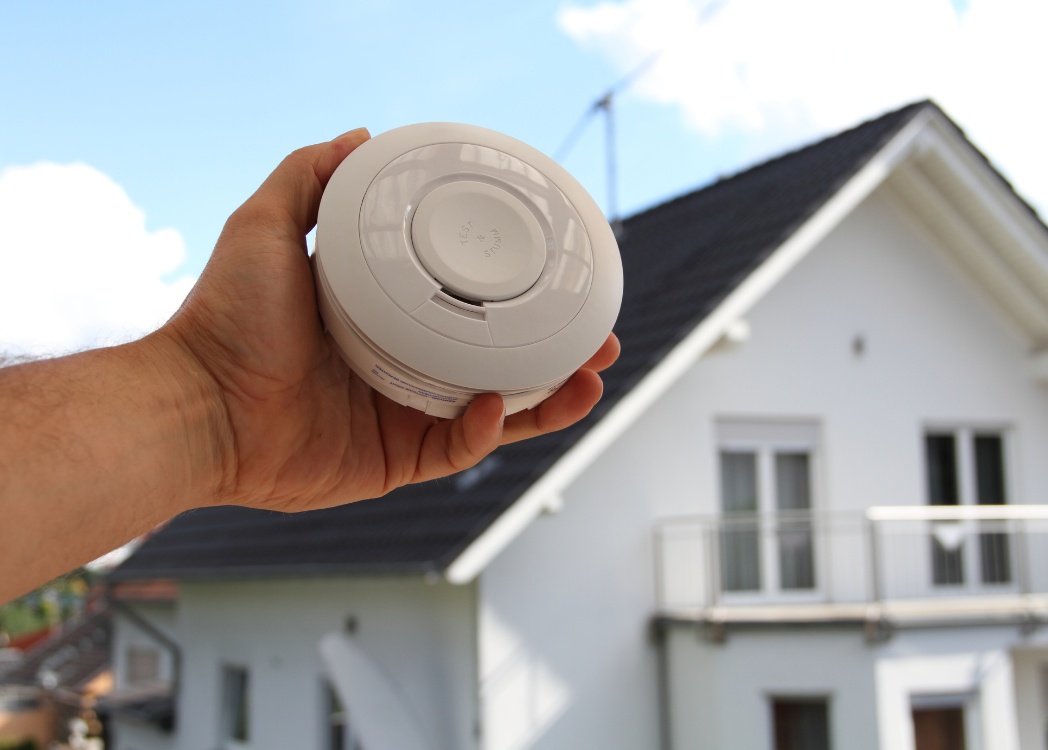
Step 2: Check the Age of Every Unit
Every smoke and CO detector has a manufacturing date on the back. Most smoke alarms last 10 years; CO alarms typically last 7. After that, sensors can fail even if the test button still works.
- Remove the detector from its mounting bracket.
- Locate the manufacture date and write it down.
- Replace any unit at or beyond its recommended lifespan.
Pro Tip: Use a permanent marker to note the installation date and battery change schedule directly on the unit for quick reference.
Step 3: Upgrade to Smart Technology
Smart detectors provide added convenience and peace of mind:
- Phone Alerts: Wi-Fi enabled alarms send notifications if smoke or CO levels rise, even when you’re away.
- Self-Testing: Many smart models run automatic checks and report sensor status.
- Integration: Devices can tie into existing smart-home systems, triggering lights or shutting down HVAC equipment when an alarm sounds.
Popular options like Nest Protect or First Alert Onelink are designed for easy DIY installation and can often replace standard battery-powered units.
Step 3: Upgrade to Smart Technology (Optional)
Smart detectors provide added convenience and peace of mind:
- Phone Alerts: Wi-Fi enabled alarms send notifications if smoke or CO levels rise, even when you’re away.
- Self-Testing: Many smart models run automatic checks and report sensor status.
- Integration: Devices can tie into existing smart-home systems, triggering lights or shutting down HVAC equipment when an alarm sounds.
Optional but Recommended:
Smart upgrades aren’t a requirement—traditional battery or hardwired detectors still provide excellent protection. If you’d rather stay with a standard model, simply replace any units that show signs of malfunction or have reached their expiration date (typically 7–10 years). Regular testing and timely replacement keep even basic alarms reliable.
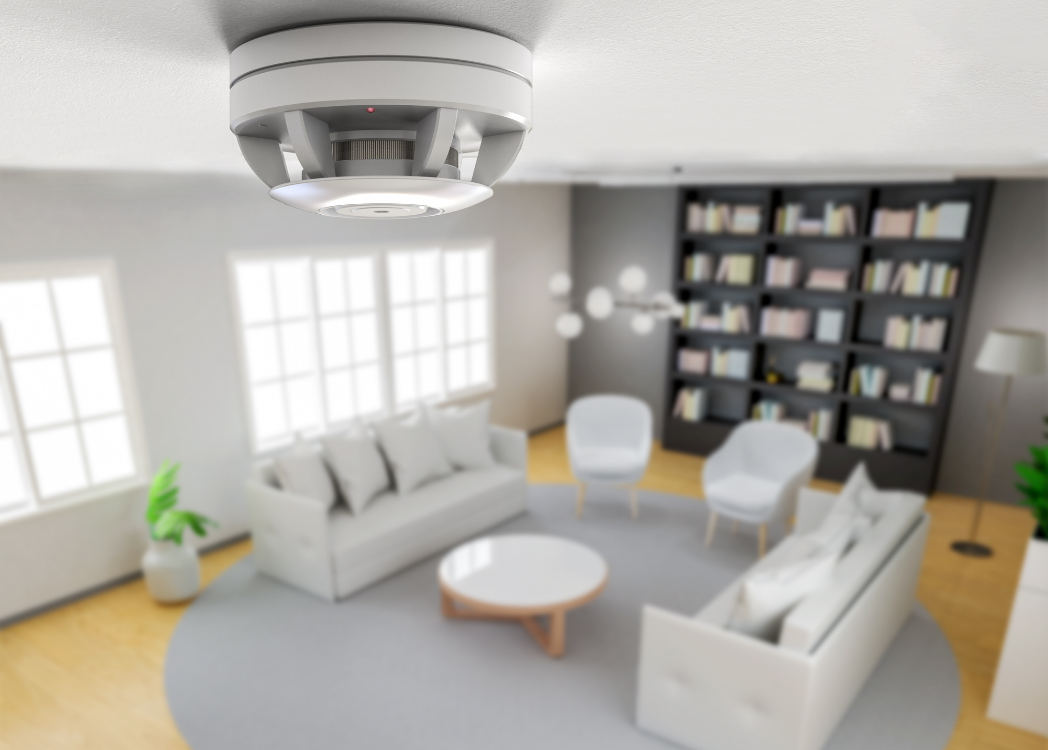
Step 4: Review Placement and Coverage
The NFPA recommends:
- Smoke Alarms: Inside every bedroom, outside each sleeping area, and on every level of the home (including basements).
- Carbon Monoxide Alarms: Outside each sleeping area and on every level.
- Mounting Height: Smoke rises, so ceiling placement is ideal. CO mixes with air, so detectors can be placed lower on a wall or at outlet height.
Avoid installing alarms too close to kitchens or bathrooms where steam and cooking fumes can trigger false alarms. Keep them at least 10 feet from stoves and showers.
Step 5: Create or Update Your Escape Plan
Even the best detectors are only as effective as the plan that follows the alarm.
- Two Exits Per Room: Identify at least two escape routes from every bedroom.
- Meeting Point: Designate a safe outdoor location where everyone will gather.
Additional Seasonal Safety Tips
- Furnace Inspection: Have your furnace serviced annually to check for cracks or leaks.
- Fireplace Prep: Schedule a chimney sweep before lighting the first fire of the season.
- Space Heater Rules: Keep heaters at least three feet away from anything flammable and never leave them running unattended.
Common Questions
Do I really need both smoke and CO detectors if I don’t burn wood?
Yes. Any appliance that uses natural gas, propane, oil, or wood can create CO—including furnaces, water heaters, and even attached garages where cars idle.
What about plug-in CO detectors?
They’re fine as long as the outlet is at the correct height and not behind furniture that can block airflow.
Can I install detectors myself?
Most battery or plug-in models are simple DIY projects. Hardwired units require basic electrical work, and you may prefer a professional for that.
The Peace of Mind Factor
A working smoke and carbon-monoxide alarm is the simplest, most cost-effective life-saving device in your home. Testing takes minutes; replacement costs less than a family dinner out. Yet the protection it provides—especially through a long Chicago winter—is invaluable.
Key Takeaways
- Test alarms monthly and change batteries at least twice a year.
- Replace smoke alarms every 10 years and CO detectors every 7 years.
- Place alarms in every bedroom, outside sleeping areas, and on every floor.
- Consider smart detectors for remote alerts and self-testing.
- Pair detector maintenance with furnace and fireplace inspections for full seasonal safety.