Drafty Windows? Simple Fixes Before the First Freeze
Identify hidden air leaks and seal them before Chicago’s winter winds drive up your heating bill.

Chicago winters are famous for their sudden mood swings. One week you’re enjoying a crisp, sunny afternoon; the next you’re hit with a bitter north wind and single-digit temperatures. That first real cold snap often comes with an unpleasant surprise for homeowners: a heating bill that’s much higher than expected.
Hidden drafts around windows are one of the most common—and most preventable—culprits. Even small gaps can let warm air escape and icy air sneak in, forcing your furnace to work overtime. The good news is that identifying and sealing drafts is easier than many people think. With a few simple checks and some strategic fixes, you can keep your home warmer, lower energy costs, and stay comfortable all season long.
Why Window Drafts Matter More Than You Think
A typical home loses about 25–30 percent of its heating energy through windows and doors. When winter winds push cold air against your house, every tiny crack becomes a pathway for heat loss. That means your furnace cycles on more frequently, driving up gas or electric bills and putting extra wear on expensive equipment. Drafts can also create chilly spots near windows, making certain rooms uncomfortable even when the thermostat reads a cozy 70°F.
In Chicago’s climate, the stakes are even higher. Our mix of high winds, lake-effect moisture, and dramatic temperature swings expands and contracts window frames throughout the year. Caulk and weather-stripping that looked fine in September may have gaps by December. Identifying those problem spots before winter settles in is key to avoiding both higher energy costs and long-term damage to the window structure itself.

Step One: DIY Checks You Can Do in an Afternoon
Before you call in a professional, spend a little time inspecting your windows yourself. You might be surprised at what you find—and how quickly you can fix it.
1. The Candle or Incense Test
Pick a cool, breezy day and turn off your HVAC system so indoor air is still. Hold a lit candle or a stick of incense around the perimeter of each window frame. If the flame flickers or the smoke wavers inward, you’ve found a leak. This simple, low-tech test is remarkably effective and costs almost nothing.
2. Feel for Drafts
On a cold day, run your hand slowly along the edges of the window, especially near the bottom corners and along the sash. Even a slight temperature difference can signal a gap.
3. Check Locks and Latches
Windows that don’t close tightly allow air to slip through. Make sure the sash locks are fully engaged and that the window sits snugly in the frame. Over time, paint buildup or warped wood can prevent a perfect seal.
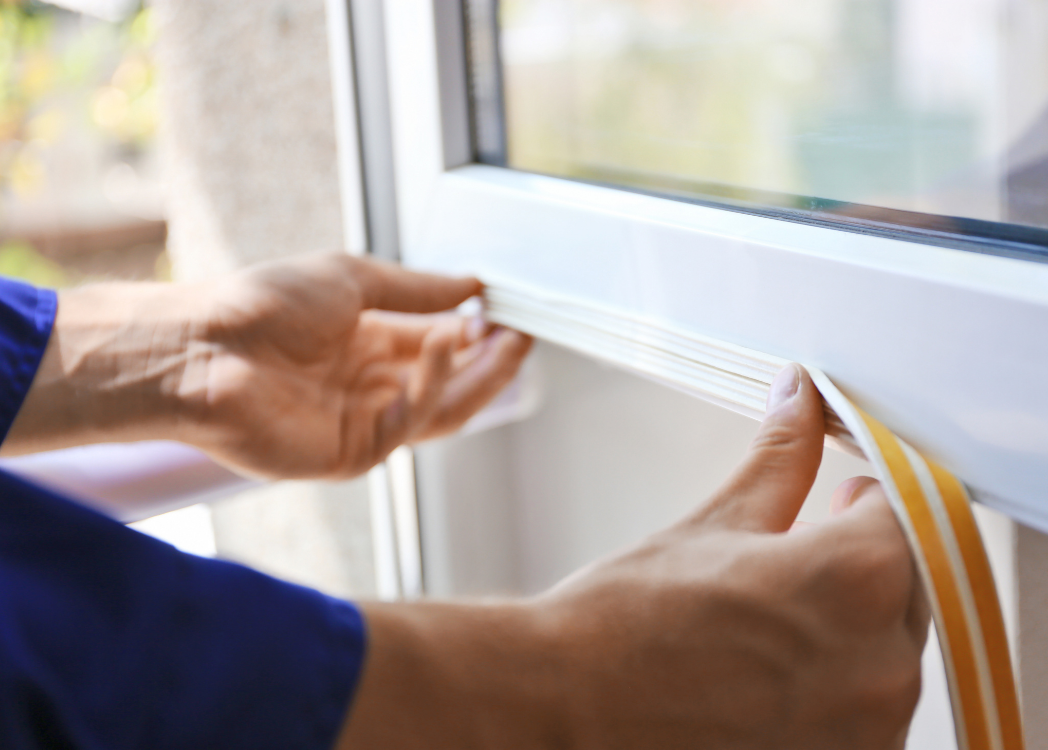
4. Inspect Weather-Stripping
Look for worn, cracked, or missing weather-stripping around the movable parts of the window. Rubber or foam seals degrade with age and exposure to sunlight. Replacing them is inexpensive and can have an immediate impact.
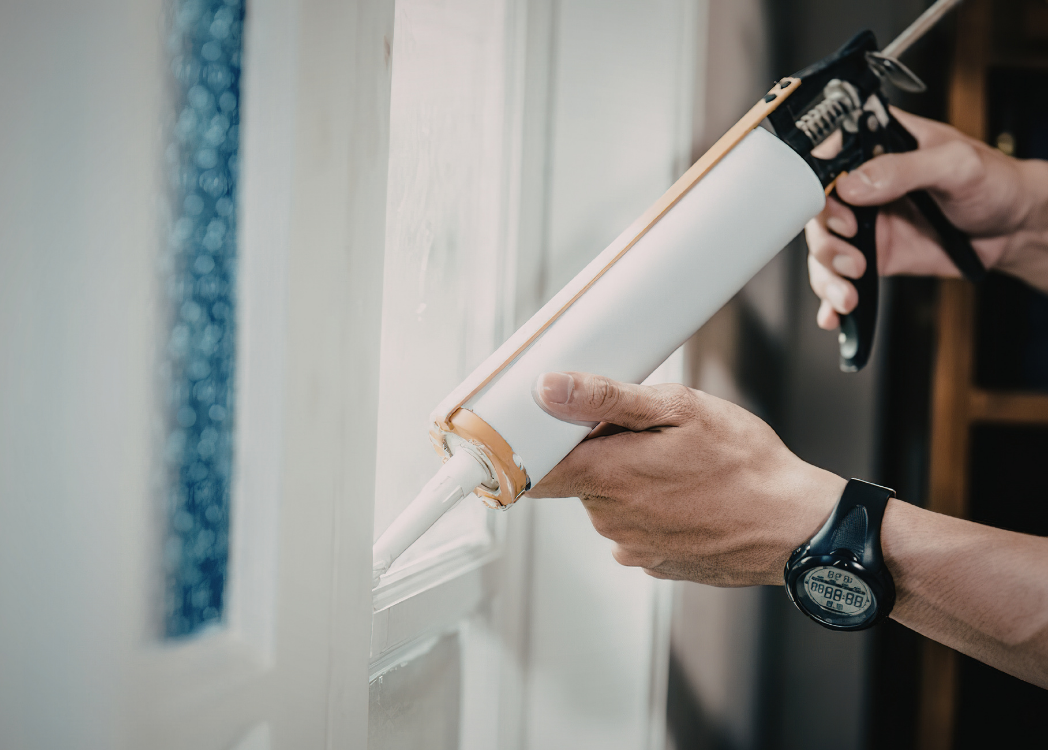
5. Examine Caulk Lines
From the outside, inspect the caulk where the window frame meets the siding or brick. Any gaps, cracks, or peeling are potential entry points for cold air and moisture.
Completing these checks on every window in your home usually takes less than an afternoon and provides a clear map of where energy is escaping.
Step Two: Simple DIY Fixes
Once you’ve identified trouble spots, tackle the easy repairs first. Many can be done with basic tools and a quick trip to the hardware store.
- Replace Weather-Stripping: Adhesive foam or rubber weather-stripping is available in rolls. Clean the surface thoroughly, cut to length, and press into place. For double-hung windows, focus on the meeting rails and side channels.
- Apply Rope Caulk or Removable Sealant: For small gaps you plan to open again in spring, removable rope caulk or silicone sealant works well. It peels away cleanly when the weather warms.
- Add Thermal Curtains or Cellular Shades: Heavy curtains or honeycomb shades create an insulating barrier that helps retain heat, especially at night.
These quick fixes often provide an immediate improvement in comfort and can reduce energy use enough to notice on the next utility bill.
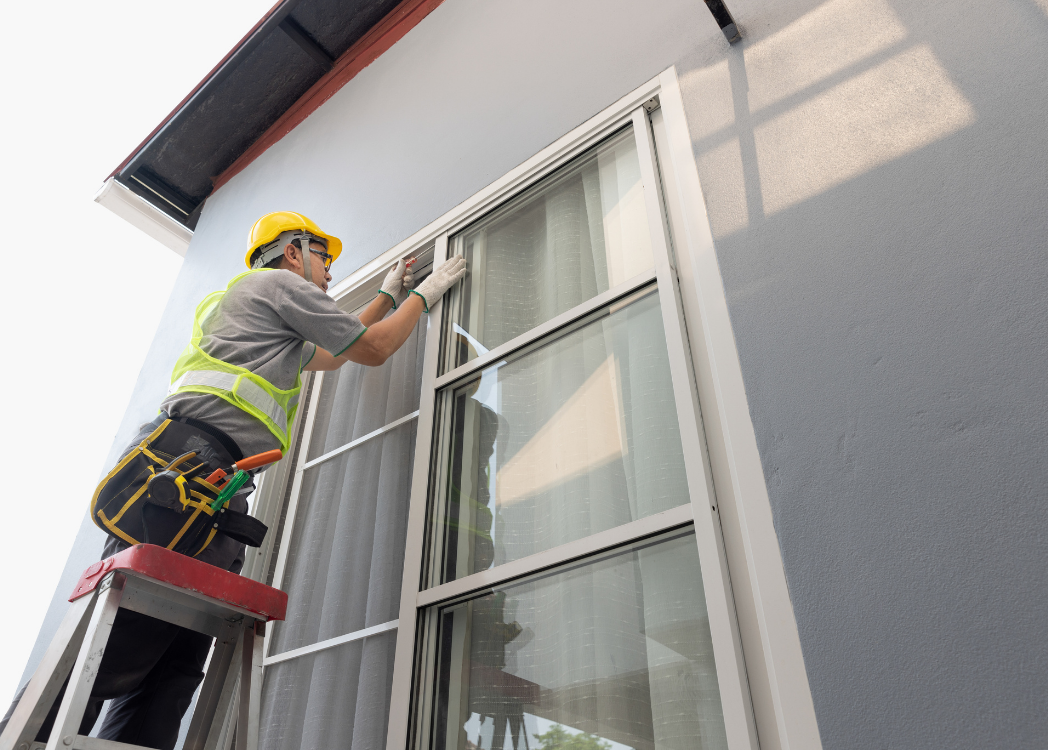
Step Three: When to Call a Professional
While many leaks are easy to handle yourself, some require expert attention. In Chicago, two issues show up repeatedly:
- Failed or Missing Exterior Caulk: Over time, sun and moisture cause exterior caulk to dry out and crack. Re-caulking the entire perimeter of a window requires the right materials and a careful hand to ensure a watertight seal.
- Damaged or Rotting Window Sills: Moisture that seeps in through small gaps can rot wooden sills or corrode metal ones. If you notice soft wood, peeling paint, or discoloration, it’s time for repair or replacement before structural damage spreads.
A professional can also advise whether a window is simply past its lifespan. Single-pane or poorly insulated windows may never perform efficiently no matter how well they’re sealed. In that case, upgrading to modern double- or triple-pane units becomes the long-term solution.

Extra Strategies for a Warmer Home
Draft-proofing windows is a major step, but a few additional habits can help you stay comfortable and cut costs:
- Adjust Ceiling Fans – Reverse fan direction to push warm air down during winter.
- Maintain Your Furnace – Replace filters monthly and schedule annual service to keep it running efficiently.
- Seal Other Gaps – Doors, attic hatches, and electrical outlets on exterior walls can also leak heat.
These small measures work together with window sealing to create a tighter, more energy-efficient home.
A Final Word
Sealing window drafts isn’t just about lowering your utility bill. It’s about creating a more comfortable, healthier living environment for the long Chicago winter ahead. Whether you tackle the project yourself or bring in a professional for stubborn leaks, addressing drafts before the first hard freeze is one of the smartest home maintenance steps you can take.